Table Of Contents
Installing the Wax Ring
When installing a toilet on a concrete floor, the wax ring plays a crucial role in creating a watertight seal between the toilet base and the floor. This simple yet effective component prevents leaks and is vital for proper toilet function. Begin by ensuring the area is clean and free of old wax remnants. Position the wax ring on the flange, ensuring it is centred and securely in place to provide optimal sealing upon installation.
Toilet installation and repair often require the right tools and materials for a successful job. Proper placement of the wax ring is essential before lowering the toilet into position. Once the toilet is situated, pressing it down gently helps to compress the wax ring and form a tight seal. This step is fundamental to prevent any potential leaks and ensure the longevity of your installation.
Proper Alignment and Seal
Achieving proper alignment during the installation of a toilet is crucial for a successful setup. Begin by positioning the toilet bowl over the wax ring, ensuring it is aligned with the flange on the concrete floor. Gently lower the toilet while maintaining control to avoid disturbing the wax ring. Once in position, press down evenly on the toilet to create a secure seal with the wax ring. This step is essential for preventing leaks and maintaining stability in the fixture.
After settling the toilet, check for levelness with a spirit level. An uneven toilet can lead to additional wear and tear. Adjust as necessary, either by repositioning the toilet slightly or using plumbers' shims for better support. Ensuring a tight and even fit is vital for effective toilet installation and repair. Once alignment is confirmed, the toilet can be securely fastened down, finalising the placement and guaranteeing a watertight connection.
Securing the Toilet to the Floor
Once the toilet is properly positioned and the wax ring is in place, securing the toilet to the floor is essential for stability. Begin by inserting anchor bolts through the holes on either side of the toilet base. Ensure that the bolts are positioned correctly and that the toilet is aligned with the drain pipe. Tighten the nuts onto the bolts gradually. This step is crucial in avoiding cracks in the porcelain while ensuring the toilet remains securely fixed to the concrete surface.
In the context of toilet installation and repair, using anchor bolts effectively will provide the necessary support to prevent the toilet from shifting or wobbling over time. After tightening the bolts, it is essential to check that the toilet remains level. Adjustments may be needed if the toilet rocks. Regular checks and maintenance can help prevent future issues, ensuring a stable and functional toilet setup.
Using Anchor Bolts Effectively
Anchor bolts play a crucial role in securing the toilet firmly to the concrete floor, ensuring stability and preventing any movement. To install the bolts correctly, position them through the holes in the toilet base and into the pre-drilled holes in the concrete. It's important to use a hammer drill if working with a new install, which allows for a precise fit. Use appropriate-sized anchor bolts to match the size of the holes for optimal effectiveness.
Ensure that the toilet is aligned correctly before tightening the anchor bolts. Begin by hand-tightening them to prevent any damage to the porcelain. Once properly positioned, use a wrench to tighten the bolts securely, but avoid overtightening as this can crack the toilet base. Proper use of anchor bolts is essential in toilet installation and repair, contributing to a reliable and long-lasting setup.
Connecting the Water Supply
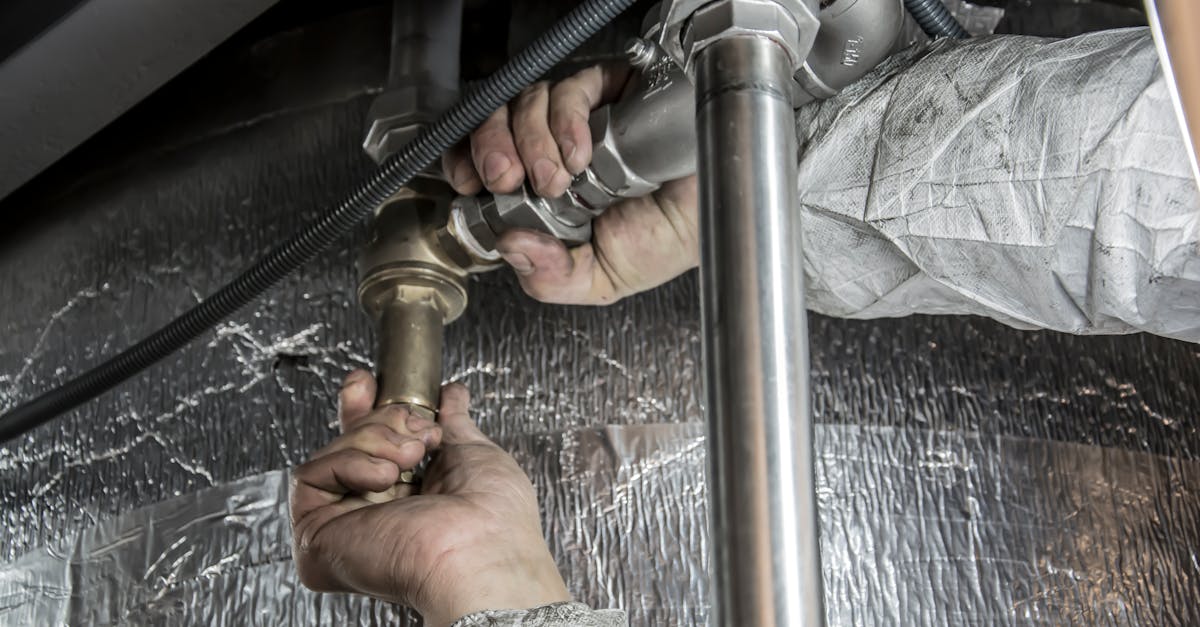
When connecting the water supply to your newly installed toilet, ensure that you have the correct fittings to match the water inlet valve. After locating the shut-off valve, attach a flexible supply line to the valve and then connect it to the toilet’s fill valve. Make sure the connections are secure but do not overtighten as this can damage the fittings. This step is crucial in toilet installation and repair, as it sets the foundation for proper functioning.
Once the water supply is connected, turn on the shut-off valve slowly to allow water to flow into the tank. Observe the connections for any signs of leaks. If you notice moisture around the fittings, you may need to tighten them slightly or re-check the alignment. A well-connected water supply ensures that your toilet functions smoothly, preventing any potential issues down the line.
Ensuring LeakFree Connections
To ensure leak-free connections during toilet installation and repair, it is crucial to carefully inspect all components before connecting the water supply. Begin by checking the condition of the supply line and any washers or fittings. Replace any frayed or damaged parts to avoid future issues. Using a new watertight hose can make a significant difference. When attaching the supply line to the toilet, hand-tighten the connection, then give it an additional quarter turn with a wrench for a secure fit.
After securing the connections, turn on the water supply and check for leaks. Monitor the area around the connections for several minutes to ensure no water seeps out. If leaks are observed, it may be necessary to tighten the connections further or re-evaluate the condition of the washers. Taking the time to verify leak-free connections will lead to a more reliable toilet system and minimise the risk of potential water damage in your bathroom.
FAQS
What tools do I need to install a toilet on a concrete floor?
You will need a few basic tools including a wrench, screwdriver, level, drill with masonry bits, and a caulking gun, along with the necessary materials like a wax ring and anchor bolts.
How do I ensure the wax ring is properly installed?
To ensure proper installation of the wax ring, place it on the flange with the tapered side facing up. When positioning the toilet, press down evenly to compress the wax ring and create a good seal.
What is the purpose of anchor bolts in toilet installation?
Anchor bolts secure the toilet to the concrete floor, providing stability and preventing movement. They ensure that the toilet remains in place and maintains a proper seal with the wax ring.
How can I check for leaks after installing the toilet?
To check for leaks, turn on the water supply and observe the connections for any signs of water dripping. Additionally, wipe down the area around the base of the toilet and check for moisture after a few hours.
Can I install a toilet on a concrete floor by myself, or do I need a professional?
While it is possible to install a toilet on a concrete floor yourself, it requires some basic plumbing skills and tools. If you are unsure or uncomfortable with the process, it may be best to hire a professional plumber.
