Table Of Contents
Installing the New DualFlush Toilet
Installing a new dual-flush toilet requires careful preparation to ensure a smooth process. Begin by turning off the water supply and removing the old toilet if necessary. Clear the installation area of any debris and inspect the floor for damage. Check that the flange is secure and level, as this will affect the stability of the new toilet. Following the manufacturer’s instructions is crucial, as different models may have specific requirements. Proper alignment with the bolts will facilitate a seamless fit.
Once the new toilet is in place, proceed with connecting the water supply line. Ensure that all fittings are tight and undamaged. After this, it's advisable to flush the toilet several times to verify its functionality and check for any leaks around the base and the connections. Assessing toilet installation and repair helps prevent future issues. Making certain that the dual-flush options are operating correctly ensures water efficiency and optimal performance.
StepbyStep Installation Guide
Begin by turning off the water supply to the existing toilet. Flush the toilet to empty the tank and remove any remaining water. Disconnect the water supply line and unscrew the nuts securing the toilet to the floor. Carefully rock the toilet back and forth to break the wax seal before lifting it off. Clean the flange area thoroughly. Position the new dual-flush toilet, ensuring that it aligns with the bolts in the flange.
Next, secure the toilet by tightening the mounting nuts over the bolts. Make sure not to overtighten as this might crack the porcelain. Install the dual-flush mechanism as per the manufacturer’s instructions, paying attention to the flush settings. Once everything is connected, reattach the water supply line and turn the water back on. After this step, you can move on to testing the toilet functionality. For those not familiar with these tasks, seeking professional help in toilet installation and repair might be advisable.
Connecting the Water Supply
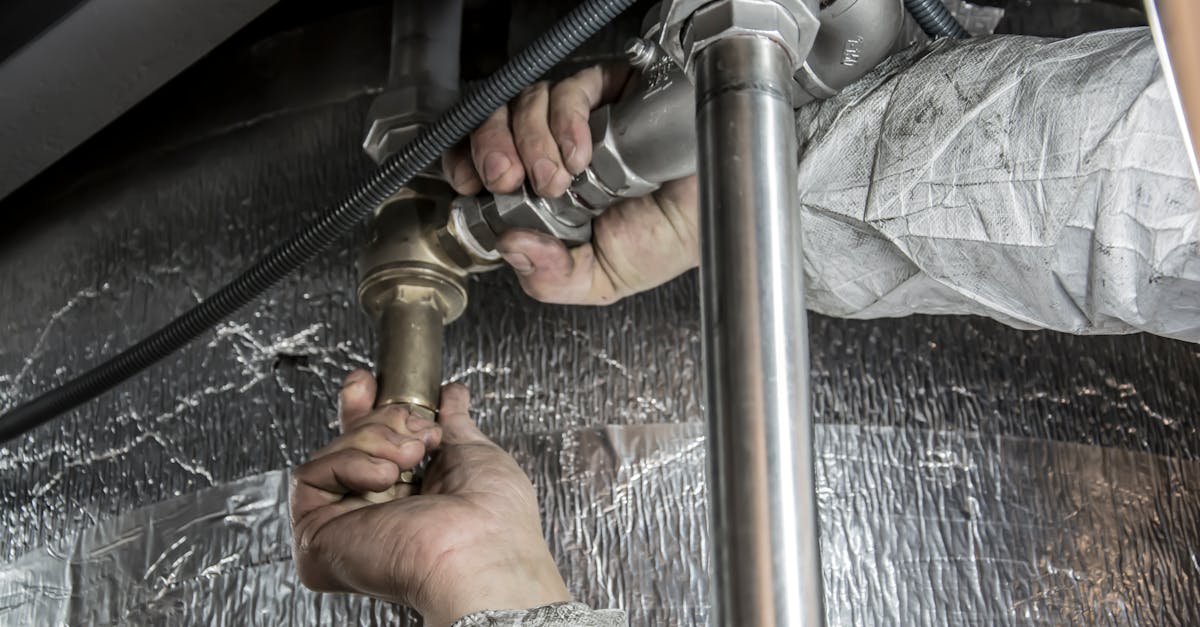
Connecting the water supply is a crucial step in ensuring your dual-flush toilet functions properly. First, turn off the main water supply to prevent any leaks or spills during the process. Locate the shut-off valve near the wall and rotate it clockwise until it stops. Next, use a flexible water supply line to connect the toilet’s tank to the shut-off valve. Check that the connection is snug but not overly tight to avoid damaging the fittings.
Once the water supply line is securely attached, it’s time to restore the water flow. Turn the shut-off valve counterclockwise to open it. Observe the toilet’s tank as it fills, ensuring there are no leaks at the connection points. Proper installation and secure fittings are essential for toilet installation and repair, as they contribute to the overall efficiency and longevity of your new dual-flush system.
Ensuring a Proper Water Connection
To ensure a proper water connection when installing a dual-flush toilet, start by identifying the water supply line. This line should be clean and free of debris to prevent any blockages. Use a wrench to securely attach the flexible supply line to the inlet valve of the toilet, making sure you don’t overtighten it, which can lead to damage. Check the connection for any signs of wear or corrosion that may necessitate replacing the line, as a reliable connection is crucial for the overall functionality of the toilet.
After securing the water supply, turn on the water and allow the tank to fill. Keep an eye on the connections during this process to check for leaks. Any signs of water escaping around the fittings should be addressed immediately, as this can lead to more significant issues. Regular checks and maintenance can prevent problems down the line. For those unfamiliar with plumbing tasks, familiarising yourself with toilet installation and repair can prove beneficial in ensuring your new dual-flush toilet operates effectively.
Testing the Toilet Functionality
After successfully installing your dual-flush toilet, it’s time to test its functionality. Begin by turning on the water supply and allowing the tank to fill. Once filled, flush the toilet using both the full-flush and half-flush options. Observe how well each button operates and ensure that the toilet flushes effectively, clearing waste without any issues. This initial test will help identify any potential installation errors that might need to be addressed.
Following the flushing tests, it’s essential to check for leaks around the base of the toilet and at the connection points of the water supply line. Dry any visible moisture and monitor these areas for further signs of leakage over the next few hours. If problems arise, you may need to revisit the installation steps conducted during your toilet installation and repair process. A properly functioning dual-flush toilet can greatly enhance water efficiency in your home.
How to Check for Leaks and Flushing Efficiency
After completing the installation of your dual-flush toilet, it’s essential to check for any leaks and ensure that the flushing mechanism operates efficiently. Begin by observing the base of the toilet and the connections to the water supply. Look for any signs of moisture or pooling water, which can indicate a leak. If you spot any leaks, check the tightness of the fittings and the condition of the seals, as these are common areas where water can escape. The appropriate adjustments may prevent future issues.
Next, test the flushing efficiency by activating both the full and half flush buttons. Make sure the toilet empties completely with each flush, as this indicates proper functionality. It’s advisable to perform this test multiple times to confirm consistent performance. Pay attention to any unusual noises or delays in the process, which may signal a problem requiring further attention. Regular checks play a vital role in toilet installation and repair, helping to maintain optimal performance over time.
FAQS
What is a dual-flush toilet?
A dual-flush toilet is a type of toilet that offers two flushing options: one for liquid waste and a more powerful flush for solid waste. This allows for water conservation by using less water for smaller flushes.
Is it difficult to install a dual-flush toilet?
Installing a dual-flush toilet can be a straightforward DIY project for those with basic plumbing skills. However, it's important to follow the manufacturer's instructions carefully and ensure all connections are secure.
What tools do I need to install a dual-flush toilet?
Common tools required for installing a dual-flush toilet include a wrench, screwdriver, level, tape measure, and possibly a hacksaw if you need to adjust any pipes.
How can I ensure there are no leaks after installation?
After installing the toilet, turn on the water supply and check all connections for leaks. You can also perform a test flush and observe if any water is leaking from the base or the connections.
Are there any specific maintenance tips for dual-flush toilets?
Yes, regular maintenance includes checking for leaks, ensuring the flushing mechanisms are functioning properly, and cleaning the toilet regularly to prevent build-up that could affect efficiency.
