Table Of Contents
Preparing the Floor
Before you begin the toilet installation and repair process, it’s essential to prepare the floor effectively. Start by clearing the area of any debris or old fixtures. Removing the old toilet necessitates checking for any potential water damage or leaks from previous installations. Ensure the flooring is level and in good condition. Any imperfections can affect the stability of the new toilet, leading to issues down the line.
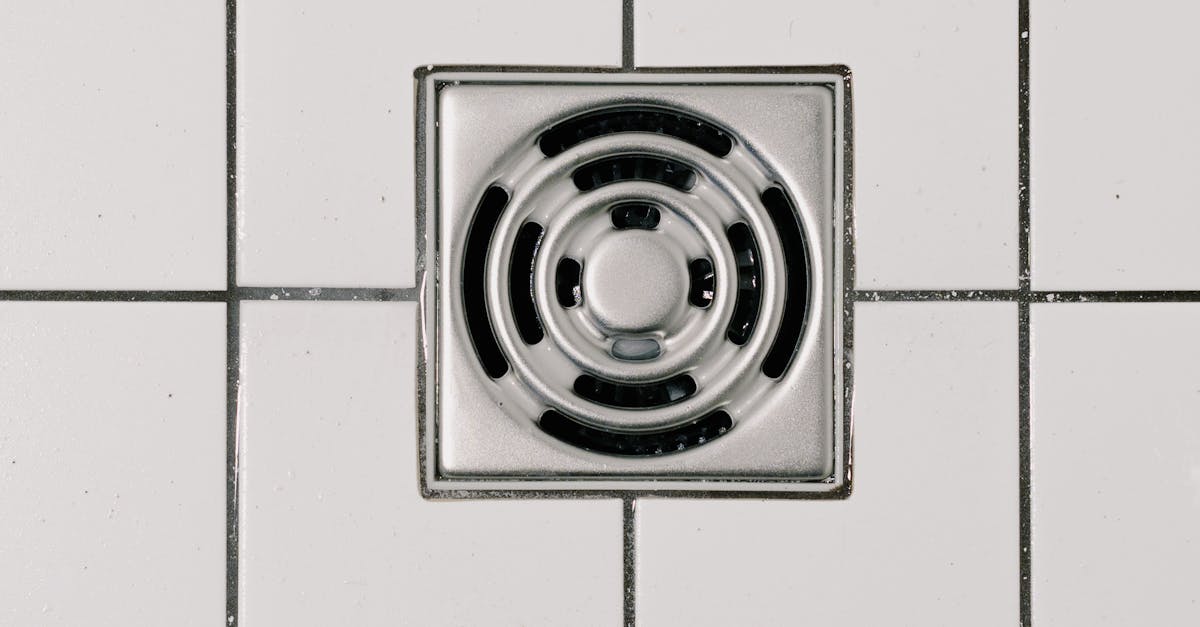
Once the space is clear, inspect the wax seal or flange that connects the toilet to the drainage system. This component must be in sound shape. If it shows signs of wear, replacement is vital before proceeding with new fixtures. Additionally, check the floor for any unevenness that may require shimming during installation. Preparing the floor correctly sets the foundation for successful toilet installation and repair, ensuring everything functions properly from the start.
Cleaning and Inspecting the Area
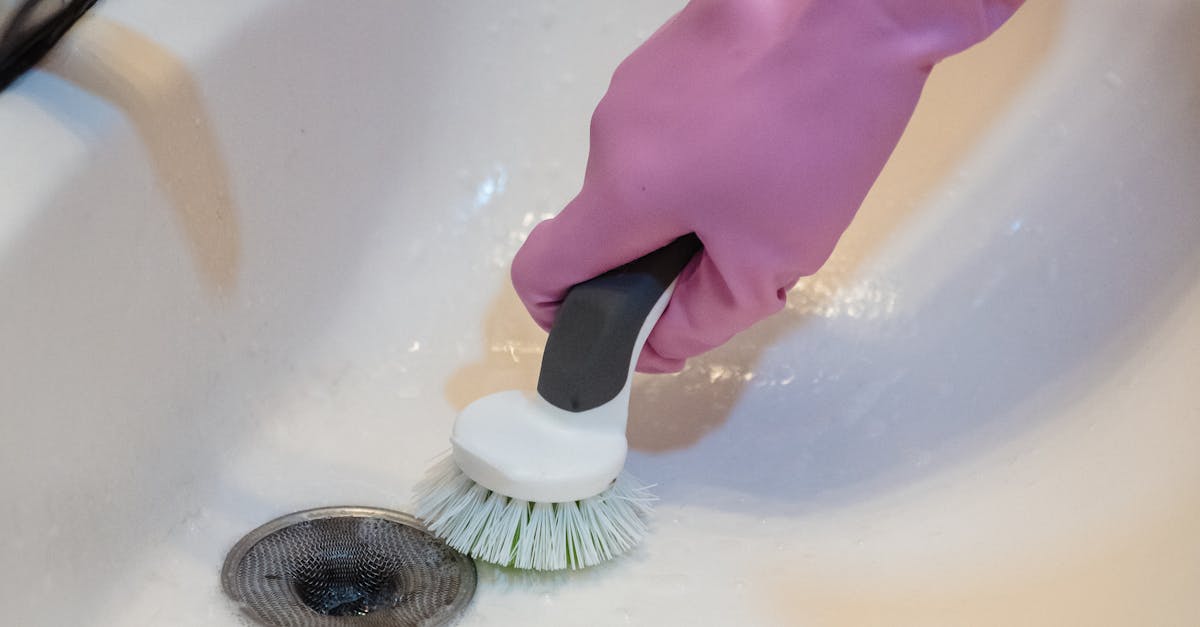
Before beginning any bathroom renovations, it's essential to prepare the space by thoroughly cleaning and inspecting the area where the toilet will be installed. Start by removing any existing fixtures or debris. Sweep away dust and dirt, making sure to focus on corners and crevices where grime tends to accumulate. A clean surface not only provides a better working environment but also allows for easier installation and sealing of the new toilet.
Once the area is clear, inspect the plumbing and flooring closely. Look for any signs of water damage, leaks, or rot, particularly around the flange where the toilet will be mounted. Make sure that the existing plumbing fixtures are in good condition. Address any issues present before proceeding with the installation. Proper preparation reduces the chances of future complications, ensuring a smooth process for toilet installation and repair.
Installing the New Toilet
To begin the installation process, collect all necessary tools and materials. This includes the new toilet, wax seal, bolts, and a wrench. Carefully place the wax seal on the flange of the drain, ensuring it is properly aligned. Lift the toilet and position it over the wax seal, making sure the toilet's holes align with the flange bolts. This step is crucial for a successful seal and prevents leaks after installation.
Once the toilet is in position, gently press down to compress the wax seal. Fasten the toilet by securing the nuts onto the bolts from underneath the toilet base. It's essential to tighten these nuts evenly to avoid cracking the porcelain. After securing the toilet, connect the water supply line to the tank. Finally, turn on the water and check for any leaks, ensuring everything is properly installed. For those who may feel uncertain about the process, seeking professional assistance for toilet installation and repair can provide peace of mind.
StepbyStep Installation Process
Begin by positioning the wax ring on the flange of the toilet. Ensure that it is centred properly to prevent leaks. Lift the toilet carefully and align the mounting holes with the bolts on the flange. Press down firmly to seat the toilet onto the wax ring. It’s important to take care during this step to maintain a good seal and prevent any wobbling once the toilet is installed.
Next, secure the toilet by tightening the nuts onto the exposed bolts. Use a wrench for a snug fit, but avoid overtightening which could crack the porcelain. After securing the toilet, attach the tank to the bowl by following the manufacturer’s instructions. Connect the water supply line and turn on the water to check for leaks. Toilet installation and repair require patience and attention to detail to ensure everything functions correctly.
Securing the Toilet
Once the toilet is placed in position, securing it is crucial to ensure stability and prevent leaks. Begin by carefully aligning the toilet’s base with the flange on the floor, making sure that any bolts protruding from the flange fit into the holes at the bottom of the toilet. Tightening the nuts onto these bolts should be done evenly, avoiding overtightening which can crack the ceramic. Ensure that the toilet sits level by checking its position and making adjustments as necessary.
After achieving the correct alignment, installation of the toilet tank follows. This involves attaching the tank to the bowl using the provided bolts and washers. Again, it is important to secure these connections firmly but not excessively to avoid damage. Lastly, connecting the water supply line completes the setup. Following these steps in toilet installation and repair ensures a functional and sturdy fixture, ready for regular use.
Ensuring Stability and Safety
When it comes to toilet installation and repair, ensuring stability is crucial for both functionality and safety. The toilet must rest firmly on the floor without any wobbling. Begin by checking that the plumbing flange is properly secured to the subfloor. Any movement in this area can lead to leaks and potential damage over time. Use a spirit level to confirm that the toilet sits evenly. If adjustments are needed, consider using shims to fill in gaps and level the toilet securely.
After the toilet is positioned and level, make sure to tighten the mounting bolts without over-tightening. Over-tightening can crack the porcelain or damage the flange. Check for any movement by gently rocking the toilet; it should not shift. Once stability is assured, ensure the water supply line is securely connected, and verify that all seals are watertight. Taking these steps during toilet installation and repair will enhance the longevity of your fixture while providing peace of mind in daily use.
FAQS
What tools do I need to prepare my bathroom for toilet installation?
To prepare your bathroom for toilet installation, you will need basic tools such as a wrench, screwdriver, level, utility knife, and tape measure. Additionally, having a bucket and sponge on hand can help with any residual water.
How do I clean the area before installing a new toilet?
Start by removing any old toilet and cleaning the floor thoroughly. Use a disinfectant cleaner to remove any stains, bacteria, or residue. Inspect the area for any damage that may need repair before proceeding with the installation.
What is the step-by-step installation process for a new toilet?
The step-by-step installation process generally involves: 1) turning off the water supply, 2) removing the old toilet, 3) cleaning the flange and floor, 4) positioning the new wax ring, 5) placing the new toilet onto the flange, 6) securing it with bolts, 7) connecting the water supply, and 8) testing for leaks.
How do I ensure my new toilet is stable and safe?
To ensure stability and safety, make sure the toilet is secured tightly to the floor using the provided bolts. Check that it does not rock by using a level, and if necessary, shim it with washers to achieve a stable position. Also, ensure all connections to the water supply are tight and leak-free.
What should I do if I encounter leaks after installation?
If you encounter leaks after installation, first identify the source of the leak. Tighten any loose connections, especially at the water supply and base of the toilet. If the wax ring is the issue, you may need to remove the toilet, replace the wax ring, and reinstall it. If problems persist, consult a plumber for assistance.