Table Of Contents
Preparing the Toilet for Connection
Before you begin the process of connecting the water supply to your toilet, it’s essential to prepare the toilet for a seamless installation. Ensure you have all necessary tools and materials on hand, including a new water supply line, a plumber’s wrench, and Teflon tape. Familiarise yourself with the toilet's design, paying attention to the water inlet location. A clean working surface and ample space around the toilet will make the installation process easier.
During this initial preparation phase, inspect the area for any existing plumbing issues. Check for signs of wear around the inlet and ensure that the connection point is free from debris. Addressing potential problems beforehand will facilitate a smooth toilet installation and repair. Taking a moment to assess the situation will save time and prevent complications once the water supply line is connected.
Steps to Position the Toilet Correctly
Positioning the toilet correctly is crucial for a successful installation. Start by ensuring that the flange, which secures the toilet to the floor, is level and correctly aligned. It should sit on a flat surface to prevent movement once the toilet is installed. Check for any debris or old wax that may interfere with a proper seal, as a clean area is essential for effective toilet installation and repair.
Next, carefully lower the toilet onto the flange, aligning the bolt holes with the flange bolts. This step requires precision to avoid damage to the wax seal that will create a watertight connection. Apply gentle pressure to set the toilet onto the wax ring, ensuring a snug fit without rocking. Verify that the toilet is upright and level before proceeding with securing it in place.
Connecting the Water Supply Line
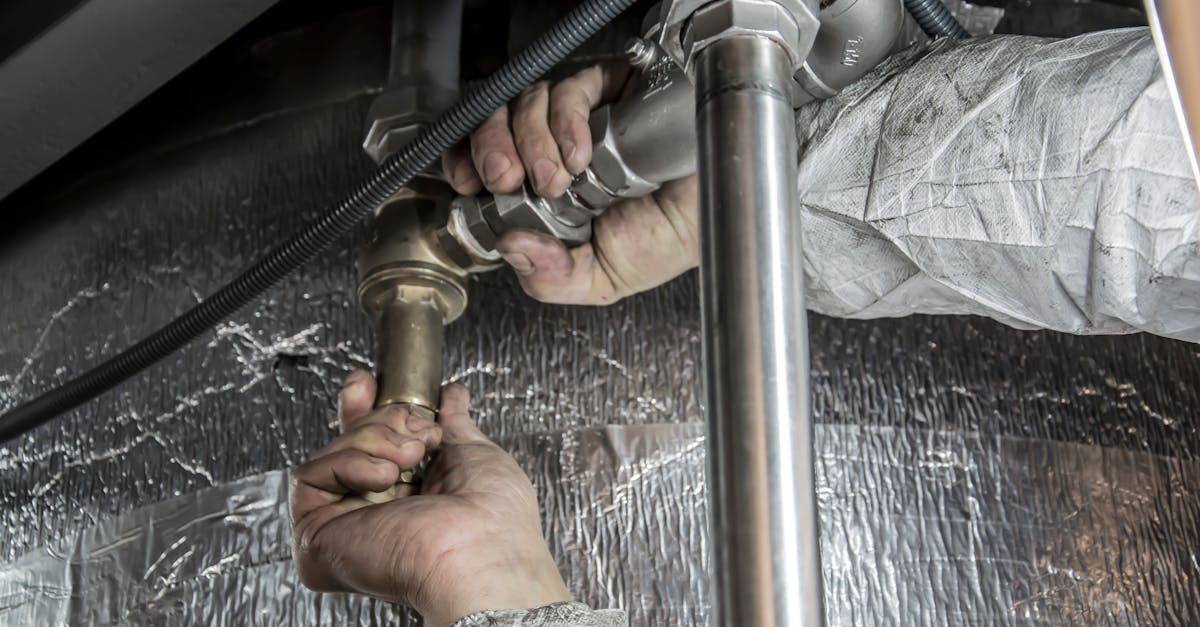
Connecting the water supply line to the toilet is a straightforward process crucial for toilet installation and repair. Begin by ensuring the shut-off valve is in the closed position before you attach the flexible water supply hose. Usually, one end of the hose connects to the toilet’s fill valve, while the other connects to the water supply coming from the wall. Make sure to check the specifications of your water supply line and the toilet model to ensure compatibility.
When fastening the hose, use a wrench to tighten the fittings, but avoid over-tightening, which can cause leaks. Once the connections are secure, turn the shut-off valve back to its open position gradually. Allow the toilet tank to fill completely, observing the connection points for any signs of moisture or drips. Confirming a leak-free connection is vital to maintain the functionality of your toilet and prevent water damage.
Detailed Instructions for a Secure Fit
Begin by gathering the necessary tools and materials for a secure water supply connection. This typically includes a flexible water supply line, an adjustable wrench, and a few washers. Ensure that the shut-off valve is in the off position before starting the connection process. Fit the water supply line onto the valve, being careful to avoid cross-threading. Tighten it gently with the adjustable wrench for a snug fit. Over-tightening can damage the fittings, so be sure to use a moderate amount of force.
Next, connect the other end of the supply line to the bottom of the toilet tank. Align the fitting properly and ensure that a washer is in place to prevent leaks. Turn the connection using the adjustable wrench, ensuring a tight seal without excessive force. Once both connections are secure, proceed with toilet installation and repair procedures. These steps will help create a reliable water supply to the toilet, ensuring proper functioning during use.
Testing for Leaks
Once the water supply line is connected, it’s important to check for any leaks to prevent future issues. Begin by turning on the water supply slowly, watching for any signs of leaking around the connection points. Inspect both the inlet valve and the point where the hose connects to the toilet tank. It's crucial to address any leaks immediately to avoid water damage and ensure the toilet functions properly.
In the context of toilet installation and repair, conducting a thorough leak test is a key step in the process. To perform the test, allow the toilet tank to fill fully, then watch for any water pooling around the base or dripping from the connections. If leaks are discovered, tighten the fittings slightly or, if necessary, disassemble the connections to ensure that seals are properly aligned and secure.
How to Conduct a Leak Test
After completing the connection of the water supply line, it is essential to conduct a leak test. Start by turning on the shut-off valve to allow water to flow into the toilet tank. Monitor the area around the connection point for any visible signs of leakage. Pay close attention to the water supply line fittings and the tank itself, as these are common sources for leaks.
If any water is observed escaping, it is important to tighten the fittings cautiously to achieve a secure seal. In some cases, it may be necessary to disconnect and reattach the water supply line to ensure a proper fit. Regular inspection following toilet installation and repair can help prevent more significant issues arising from minor leaks which could lead to water damage over time.
FAQS
What tools do I need to connect the water supply to a toilet?
To connect the water supply to a toilet, you will typically need a wrench, a bowl or bucket to catch any residual water, plumber's tape, and possibly a screwdriver.
How do I know if my toilet is positioned correctly before connecting the water supply?
Ensure the toilet is level and securely bolted to the floor. You can check for levelness with a spirit level and make sure there’s no rocking by rocking it gently; if it moves, it may need adjustments.
What type of water supply line should I use for connecting my toilet?
It is recommended to use a flexible braided hose or a rigid copper line specifically designed for toilet connections. Ensure the fittings are compatible with your toilet and water supply.
How can I tell if there is a leak after connecting the water supply?
After connecting, turn on the water supply and visually inspect all joints and connections for any signs of moisture or dripping water. You can also check the floor around the base of the toilet for any signs of water accumulation.
What should I do if I find a leak after testing the connection?
If you find a leak, turn off the water supply immediately and tighten the connections. If the leak persists, you may need to disassemble the fittings, replace any faulty washers or seals, and reassemble the connections carefully.