Table Of Contents
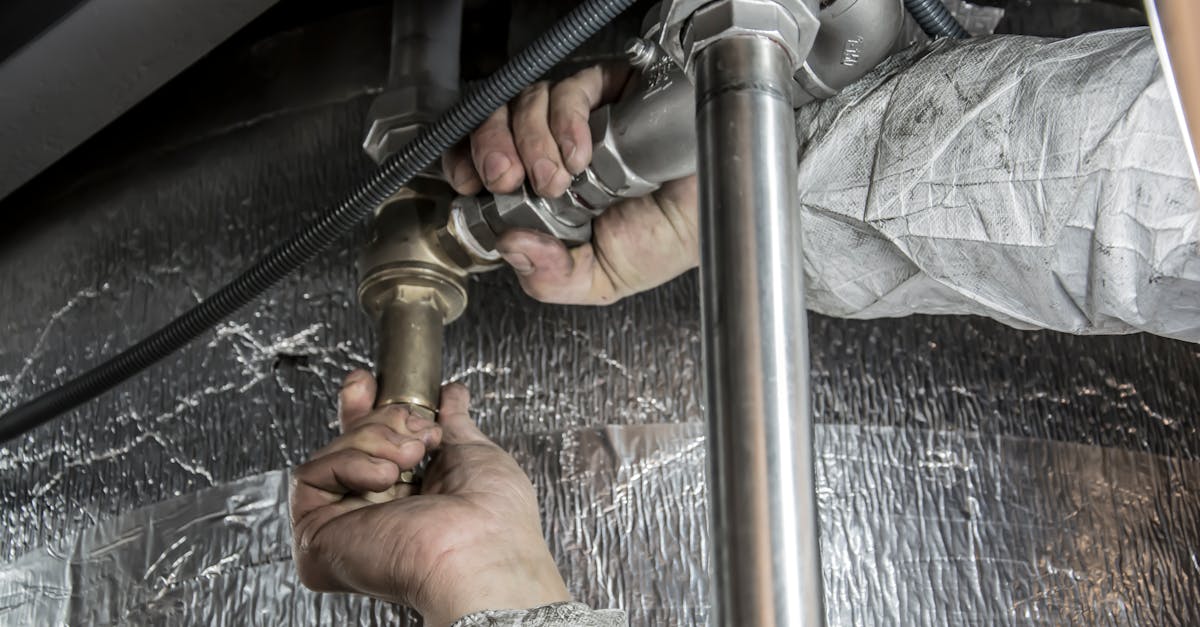
Applying a Pipe Clamp
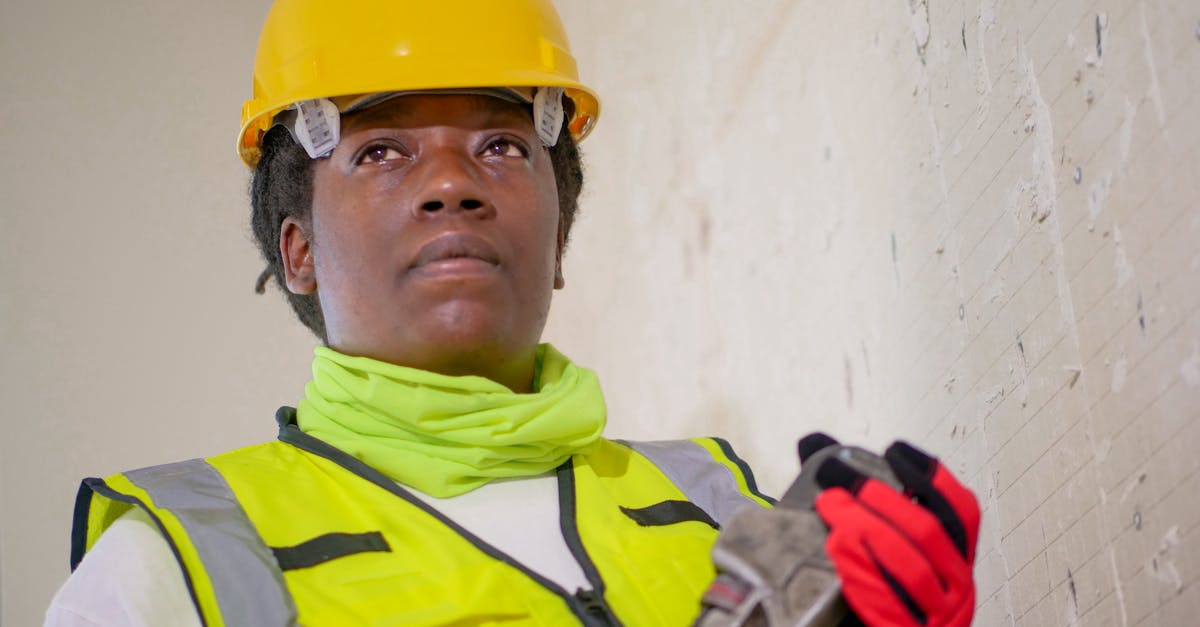
One effective way to manage a leaking pipe is by applying a pipe clamp. This method is particularly useful for small leaks or damaged sections, allowing for a quick and reliable temporary fix. The clamp works by compressing a rubber gasket against the pipe, helping to seal off the leak and prevent further water loss. Pipe installation and repair often requires precision, making this straightforward approach suitable for most everyday leaks.
Before applying the pipe clamp, ensure the area around the leak is clean and dry to achieve the best seal possible. It's vital to select a clamp that matches the diameter of your pipe to ensure a snug fit. Once secured, monitor the leak closely for a short period to confirm the effectiveness of your temporary repair. This method can provide immediate relief while you assess whether further intervention, such as professional help or a more permanent fix, is necessary.
Steps to Secure the Clamp
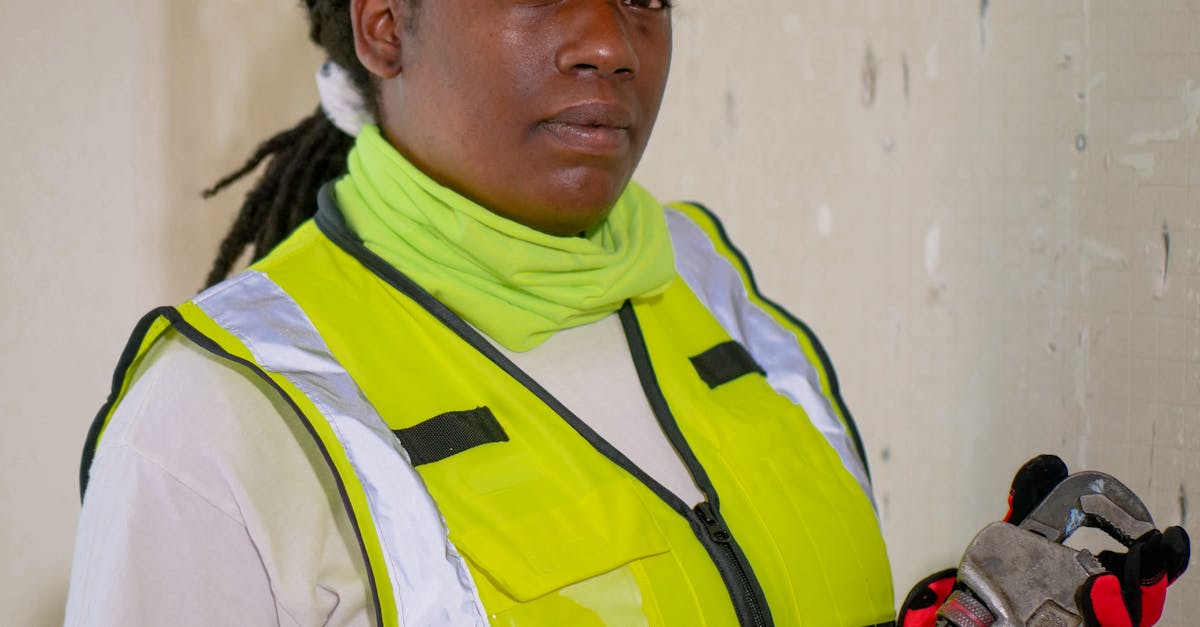
To secure the pipe clamp effectively, begin by ensuring that the area surrounding the leak is clean and dry. Use a cloth to wipe away any moisture or debris from the pipe surface. Position the clamp over the leak, making sure it covers the damaged area adequately. This will provide the necessary support to contain any further leaking. Check that the clamp is aligned properly to avoid any misplacement during tightening.
Next, use a socket or wrench to tighten the screws on the clamp evenly. Ensure that you do not over-tighten, as this can cause additional damage to the pipe. Once secured, double-check the clamp's position and tightness to confirm it fits snugly against the pipe. Following these precautions will significantly enhance the effectiveness of your temporary repair. Although these methods are practical, they are not permanent. For more extensive issues, consider professional pipe installation and repair services.
Temporary Fixes for Larger Leaks
In the case of larger leaks, immediate containment is essential to prevent further water damage. Placing a bucket directly under the leak can collect dripping water, thus minimising the mess. Alternatively, a towel or rag can be wrapped around the area to absorb any moisture. These temporary measures will buy you time until a more permanent solution can be applied. Keep an eye on the collection container to ensure it doesn’t overflow.
For leaks arising from damaged pipes, securing the area can help manage the problem. If the leak is substantial, using a combination of towels and buckets may prove necessary until you can address the pipe installation and repair properly. Monitoring the situation closely will assist in preventing significant damage to surrounding structures. Once the immediate issue is contained, consider evaluating the extent of the damage and planning for necessary repairs.
Employing a Bucket or Towel
When faced with a larger leak, a simple yet effective method involves using a bucket or towel to manage the issue temporarily. Positioning a bucket directly beneath the leak will catch dripping water, preventing potential water damage to floors or walls. Alternatively, a towel can be used to absorb the leak on surfaces, allowing you to control the situation until a more permanent solution is implemented. It's essential to remain vigilant, as too much water may quickly overflow the bucket or saturate the towel.
This approach provides a crucial stopgap measure while you assess the severity of the leak and determine the necessary steps for pipe installation and repair. While the bucket or towel won’t fix the underlying problem, it will give you some time to contemplate your next move. Once the immediate concern is managed, you can evaluate whether to apply a patch, use a pipe clamp, or venture into replacing a damaged section of pipe altogether.
Replacing a Damaged Section of Pipe
Replacing a damaged section of pipe requires careful planning and the right tools. Start by turning off the water supply to the affected area. This prevents flooding and allows you to work safely. Use a pipe cutter for clean cuts on the damaged section. Ensure your new pipe matches the existing one in size and material, as this will make pipe installation and repair more straightforward.
Once you have the new pipe, dry fit it first to ensure a proper fit. After confirming this, apply plumbing adhesive to secure the joints if using PVC or ensure the threads are sealed with tape for metal pipes. Finally, turn the water supply back on slowly while checking for leaks. Proper sealing at the connections is crucial to avoid future issues.
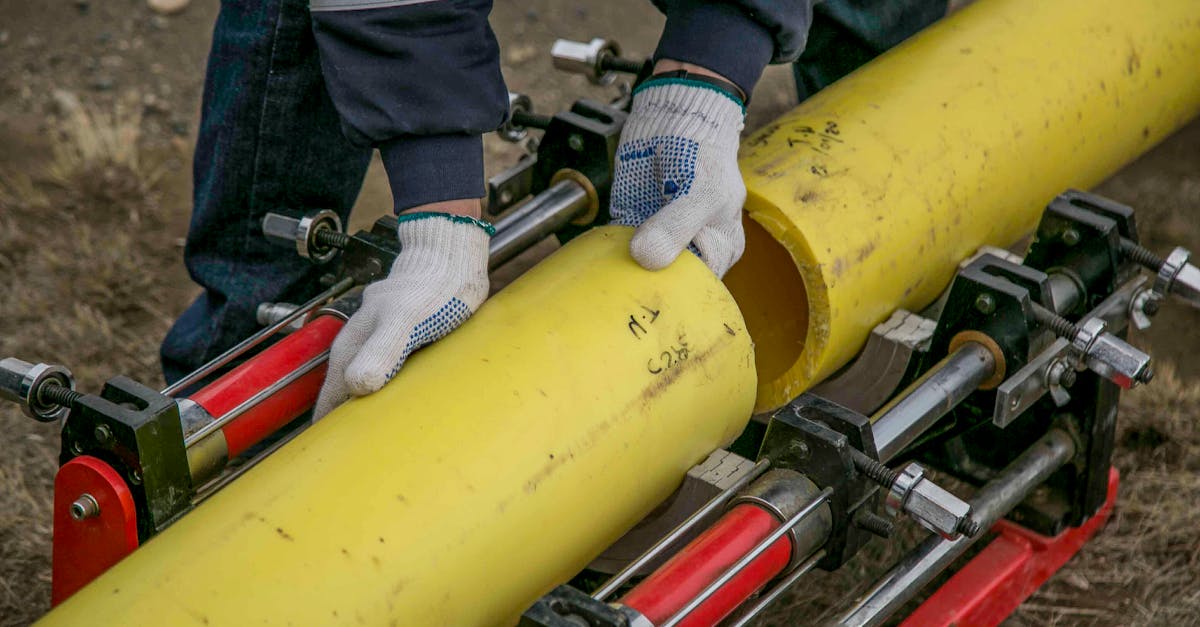
How to Cut and Install New Pipe
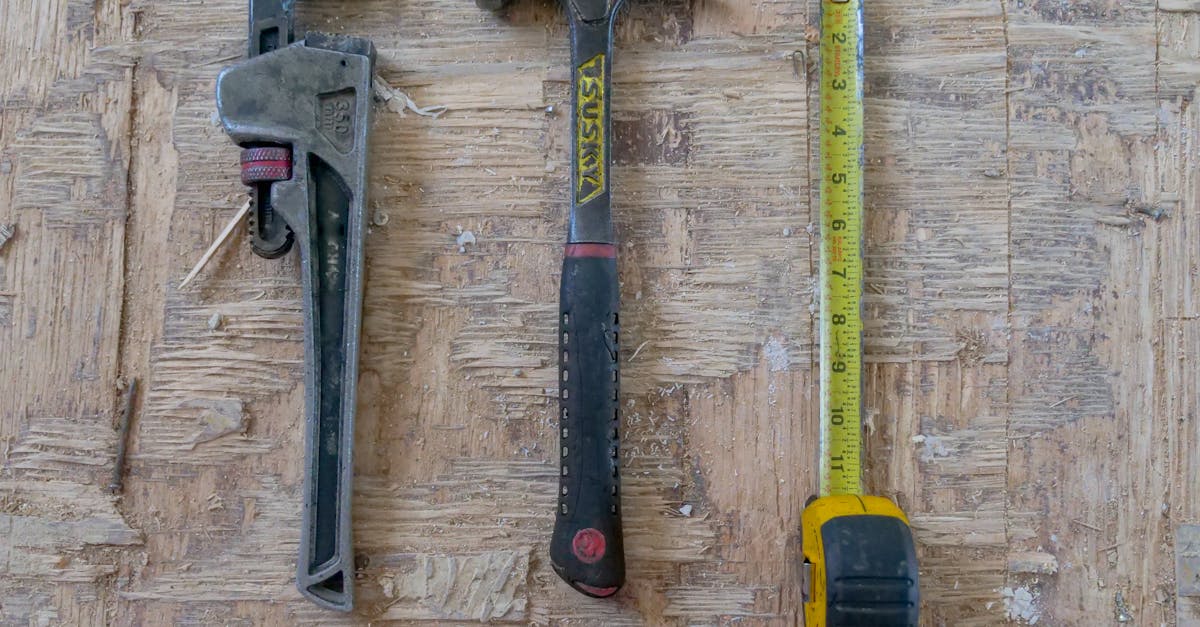
When it comes to pipe installation and repair, having the right tools is essential for a DIY approach. Begin by measuring the length of the damaged pipe. Mark your cut lines with a pencil, ensuring they are straight and accurately measured. Use a pipe cutter for a clean cut, making sure to rotate the tool around the pipe until it slices through completely. If a pipe cutter isn’t available, a hacksaw can also do the job. After cutting, remove any burrs or rough edges with a deburring tool or sandpaper to ensure a snug fit for the new pipe.
Once you have prepared the cut area, it is time to install the new pipe section. Fit the new piece into place, matching the existing pipes and ensuring it aligns correctly with connectors or fittings. Use appropriate sealant or plumber's tape for threaded connections to prevent future leaks. Secure the connections tightly but avoid over-tightening to prevent damage. After everything is in place, turn the water supply back on to check for any leaks. Regular checks are important to ensure the longevity of your DIY pipe installation and repair job.
FAQS
Can I fix a leaking pipe without any special tools?
Yes, you can fix a leaking pipe using basic household items like a bucket or towel for temporary repairs, and a pipe clamp for more permanent solutions.
How do I know if a leak needs a temporary fix or a permanent solution?
If the leak is small and manageable, a temporary fix such as using a bucket or towel may suffice. However, if the leak is large or worsening, it’s best to consider a permanent solution, such as applying a pipe clamp or replacing the damaged section.
What materials do I need to replace a damaged section of pipe?
To replace a damaged section of pipe, you will need a new piece of pipe, pipe cutter or hacksaw, pipe fittings (if required), plumber's tape, and a wrench.
Are there any risks involved in fixing a leaking pipe myself?
There are risks involved, including potential water damage if the repair fails, or injury from using tools incorrectly. Ensure you follow safety precautions and consider seeking professional help for complex issues.
How long can I expect a temporary fix to last?
A temporary fix can last anywhere from a few hours to a few days, depending on the nature of the leak and the method used. However, it is advisable to make a permanent repair as soon as possible to avoid further damage.